Creating Your First AI Image - Step-by-Step Tutorial
Learn how to generate your first AI image with Gemini Photo. Complete beginner-friendly guide with example prompts and tips for best results.
Creating Your First AI Image
Welcome to your first AI image generation! This step-by-step guide will walk you through creating your very first image with Gemini Photo, from entering a prompt to downloading your creation.
Prerequisites
Before you begin, make sure you have:
- A Gemini Photo account (Sign Up here if needed)
- An active subscription (required for image generation)
- A clear idea of what you want to create (or use our example prompts)
Step-by-Step Guide
Step 1: Access the Image Editor
- Sign in to your Gemini Photo account
- Navigate to the Image Editor
- You'll see the main interface with two mode options
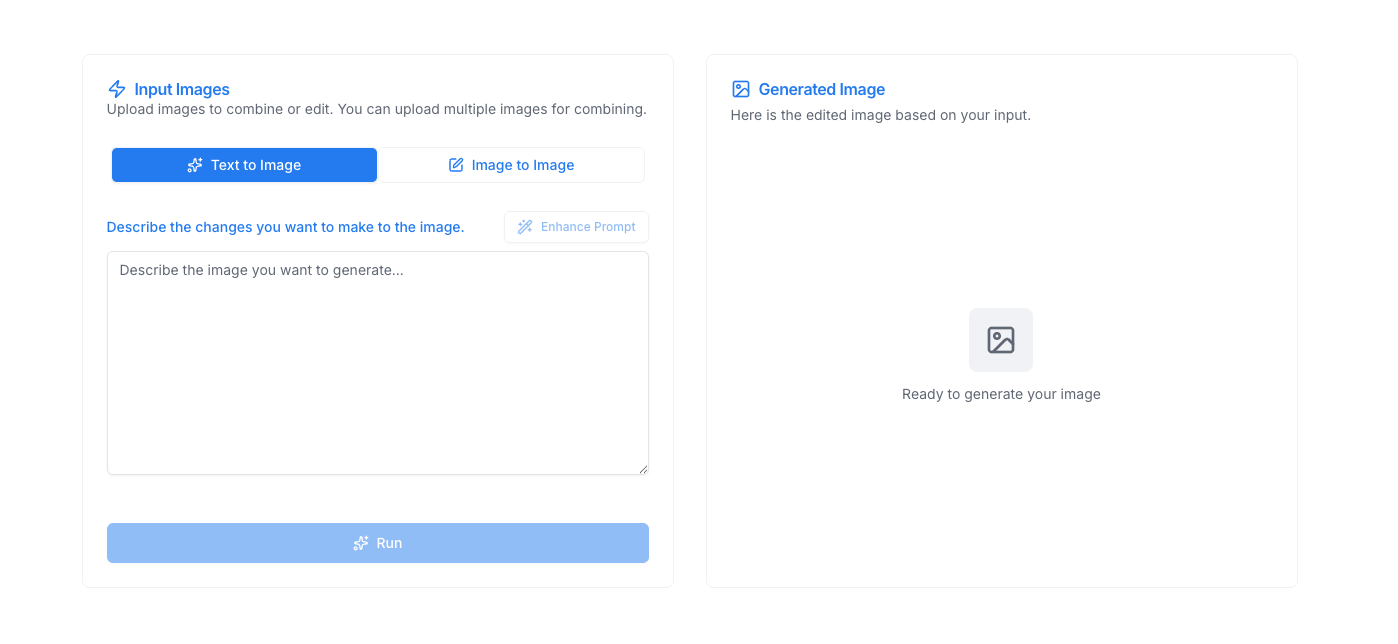
Step 2: Select Text-to-Image Mode
- Click on "Text-to-Image" mode (if not already selected)
- This mode allows you to generate new images from scratch
Step 3: Enter Your Prompt
In the prompt input field, describe what you want to create. Here are some example prompts to get you started:
Example 1: Simple Landscape
A serene mountain landscape at sunset with a lake in the foreground, photorealistic
Example 2: Character Design
A friendly robot character with big expressive eyes, cartoon style, bright colors
Example 3: Abstract Art
Abstract geometric patterns in blue and purple, modern minimalist style
Example 4: Product Photography
A sleek modern coffee cup on a wooden table, professional product photography, soft lighting
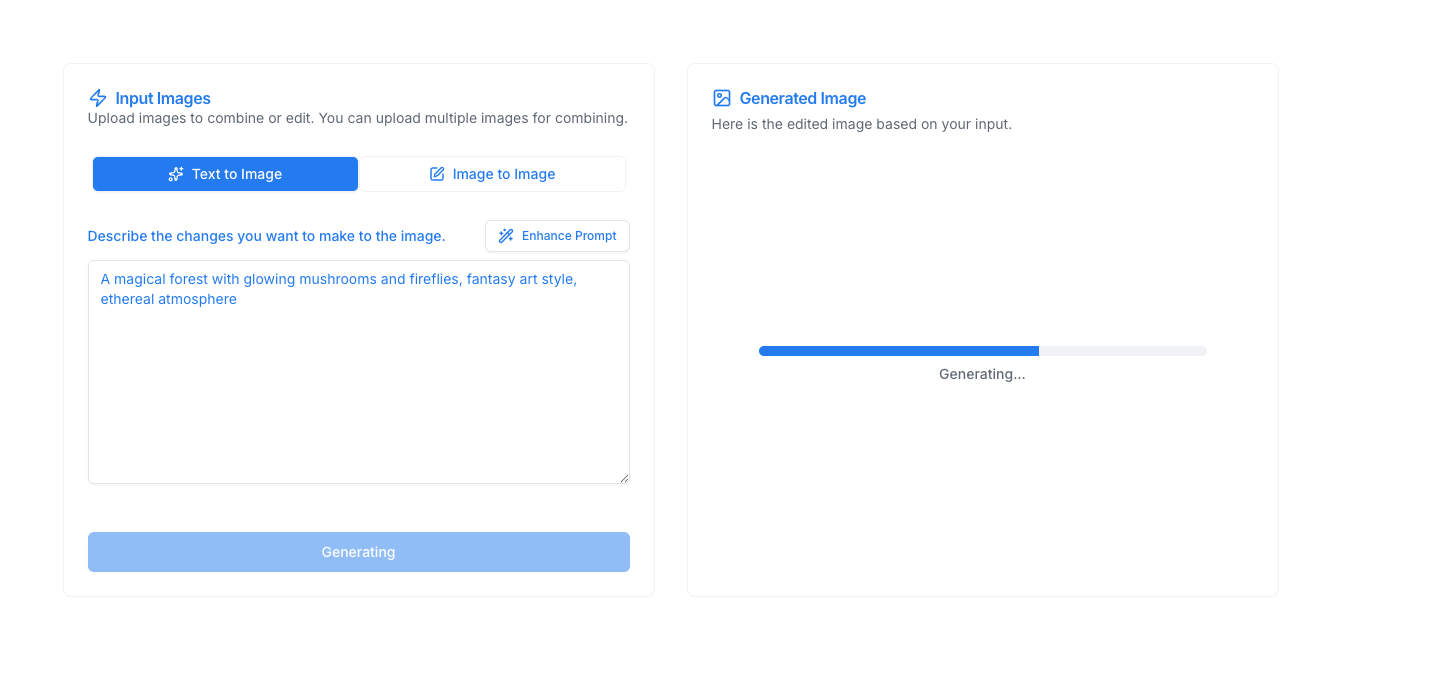
Example 5: Fantasy Scene
A magical forest with glowing mushrooms and fireflies, fantasy art style, ethereal atmosphere
Step 4: Enhance Your Prompt (Optional)
Before generating, you can use the Prompt Enhancer tool:
- Click the "Enhance Prompt" button
- The AI will optimize your prompt for better results
- Review the enhanced version and use it if you prefer
Learn more about using the Prompt Enhancer.
Step 5: Generate Your Image
- Click the "Generate" button
- Wait for the AI to process your prompt (typically 10-30 seconds)
- Watch the progress indicator
- Your image will appear when generation is complete
Step 6: Review and Refine
Once your image is generated:
- Review the result: Does it match what you envisioned?
- Regenerate if needed: Click "Generate Again" to create a new variation
- Refine your prompt: Adjust your description and try again
- Save your image: Click "Save" to add it to your gallery
Understanding the Interface
Main Components
- Mode Selector: Switch between text-to-image and image editing
- Prompt Input: Where you describe what you want to create
- Prompt Enhancer: AI tool to optimize your prompts
- Generate Button: Starts the image creation process
- Image Preview: Shows your generated image
- Save/Download: Options to save or download your creation
Generation Status
During generation, you'll see:
- Progress indicator showing generation status
- Estimated time remaining
- Status messages
Example Prompts with Expected Results
Realistic Photography
Prompt: "A vintage camera on a rustic wooden desk, soft natural lighting, shallow depth of field, professional photography"
Expected Result: A high-quality photograph with realistic lighting, proper focus, and professional composition.
Artistic Style
Prompt: "A cat wearing a space helmet, digital art, vibrant colors, detailed, trending on artstation"
Expected Result: A stylized digital artwork with rich colors and detailed rendering.
Minimalist Design
Prompt: "Simple line drawing of a mountain range at sunset, minimalist style, black and white"
Expected Result: A clean, simple illustration with minimal details.
Beginner Tips
Start Simple
- Begin with straightforward descriptions
- Add complexity as you learn what works
- One clear subject is better than many
Be Specific
Instead of: "a dog" Try: "a golden retriever puppy playing in a sunny park, photorealistic"
Use Style Modifiers
Add style descriptions to your prompts:
- "photorealistic" for realistic images
- "cartoon style" for animated looks
- "watercolor painting" for artistic effects
- "3D render" for computer graphics
Common Mistakes to Avoid
- Too Vague: "something cool" won't give good results
- Contradictory Terms: "realistic cartoon" can confuse the AI
- Overly Complex: Too many elements can dilute the result
- Missing Style: Without style guidance, results may vary
Understanding Generation Results
What to Expect
- Generation Time: 10-30 seconds typically
- Image Quality: High-resolution JPEG format
- Variations: Each generation is unique, even with the same prompt
- Iteration: Don't be afraid to regenerate for better results
When Results Don't Match Expectations
If your image isn't what you wanted:
- Refine your prompt: Add more specific details
- Try different wording: Rephrase your description
- Use the enhancer: Let AI optimize your prompt
- Regenerate: Sometimes a new attempt works better
Next Steps After Your First Image
Explore More Features
Save and Organize
- Save your images to your gallery
- Organize by project or theme
- Download for use in other projects
Share Your Creations
- Download high-quality versions
- Share on social media
- Use in your creative projects
Troubleshooting
Generation Failed?
- Check your internet connection
- Verify your subscription is active
- Try a simpler prompt
- Contact support if issues persist
Image Quality Issues?
- Use more descriptive prompts
- Specify "high quality" or "detailed" in your prompt
- Try the prompt enhancer
- Regenerate for better results
Practice Exercises
Try these prompts to practice:
- Nature: "A peaceful forest path in autumn, golden leaves, soft sunlight filtering through trees"
- Portrait: "A professional headshot of a person, studio lighting, neutral background"
- Architecture: "Modern minimalist house, white walls, large windows, surrounded by nature"
- Food: "Gourmet burger on a wooden board, professional food photography, appetizing"
- Abstract: "Colorful abstract waves, digital art, vibrant gradients, modern"
Ready for More?
Now that you've created your first image:
Happy creating!